Contrary to popular belief, you don’t need to be an interior designer or spend a fortune to create stunning wall decorations. I’ve learned that through trial and error, and now, I’m here to share my insights to help you transform your space.
Understand Your Space
Before you start, understand your space. I always begin by assessing the room’s size, lighting, and purpose. Each room tells a different story, and your wall decoration should reflect that.
Step 1: Measure Your Walls
- Grab a tape measure and note the dimensions of your walls.
- Consider the room’s size. A small room might feel cramped with large pieces, while a large room can look empty with small ones.
Step 2: Assess Natural Light
Lighting plays a significant role in how your wall decorations look. I always observe how natural light enters the room and how it changes throughout the day.
- If your room is bright, you might want to consider darker or bolder pieces to create contrast.
- If your room is dim, lighter or reflective pieces can help brighten the space.
Step 3: Define the Room’s Purpose
The function of the room should guide your choices. A calming bedroom might benefit from soft, neutral colors, while a lively living room could use bold, lively pieces.
Choose Your Style
I’ve found that choosing a style that resonates with you is key. It’s your space, after all, so it should reflect your personality. Don’t be afraid to mix and match different styles to create something uniquely yours.
Step 1: Browse for Inspiration
I often start by browsing home decor magazines, websites, or social media platforms for inspiration. I save images that catch my eye and look for common themes or elements.
- Pinterest is a great tool for this. Create a board for each room and pin images that inspire you.
Don’t rush this process. It’s okay to take your time and gather inspiration from various sources.
Step 2: Stick to a Color Scheme
A cohesive color scheme can tie your wall decorations together. I usually choose a main color and a few accent colors that complement it.
- If you’re unsure where to start, look to your existing furniture or decor for color inspiration.
- Don’t forget to consider the room’s lighting. Colors can look different under various lighting conditions.
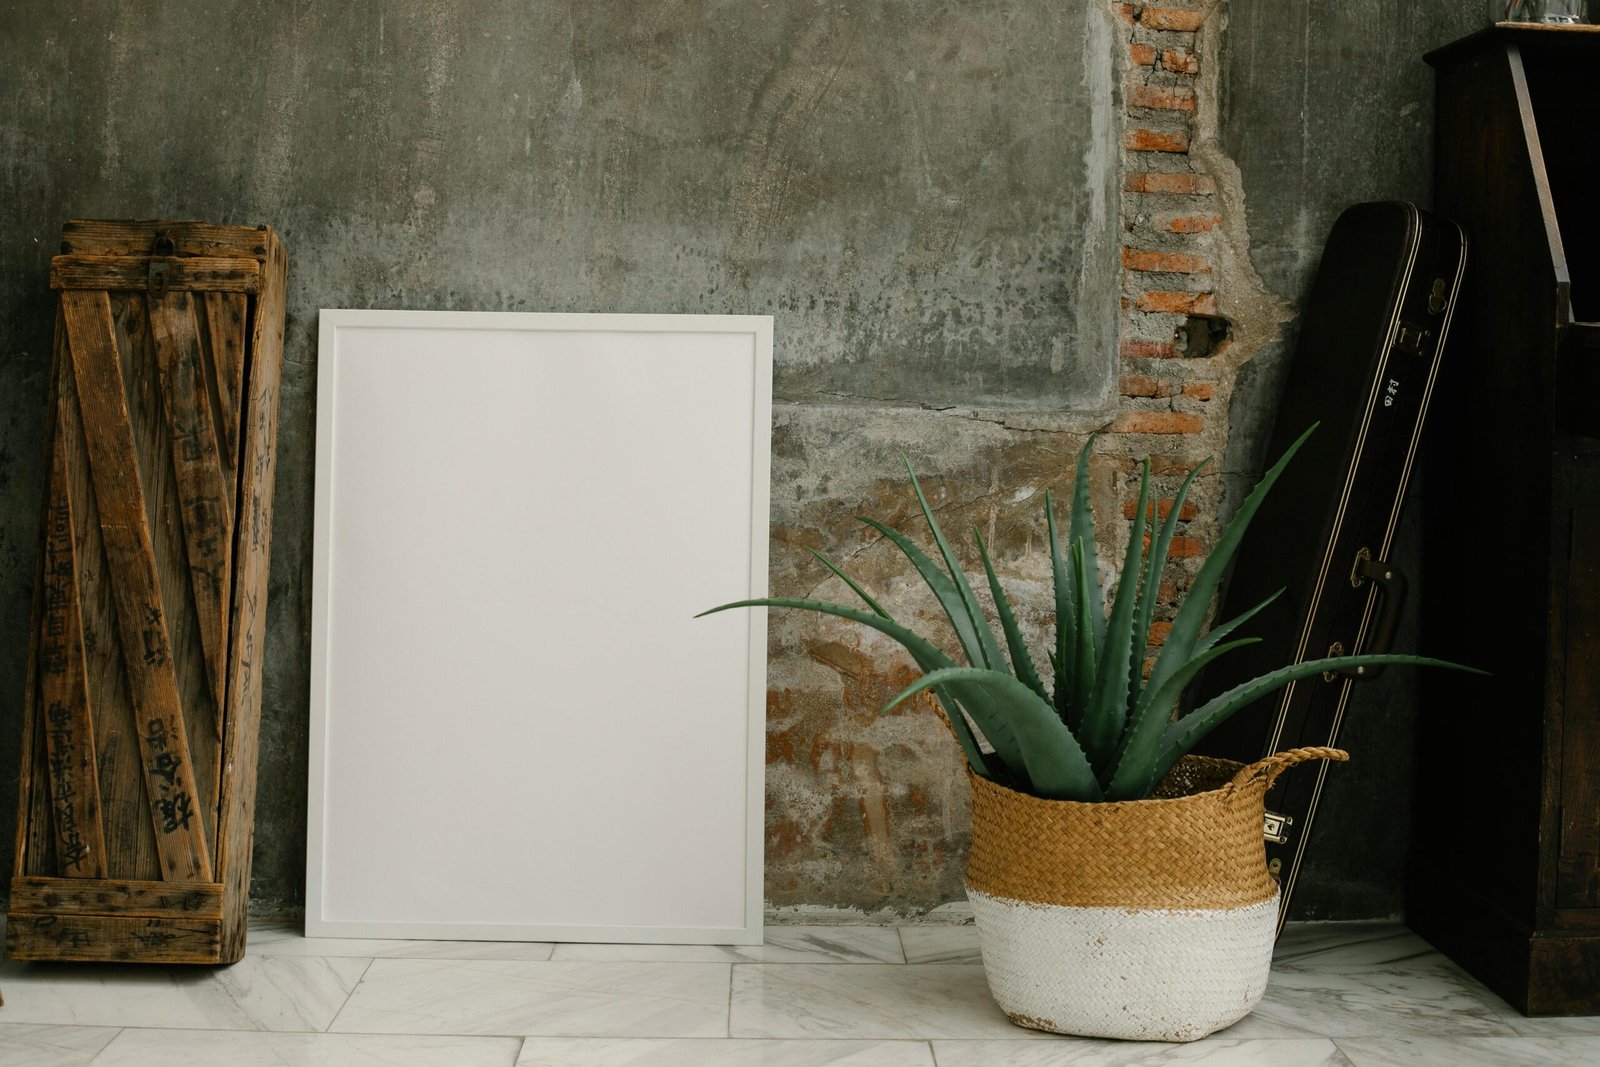
Step 3: Mix Textures and Materials
I’ve learned that mixing textures and materials can add depth and interest to your walls. Consider incorporating elements like wood, metal, fabric, or glass.
- For example, a wooden shelf with metal accents can look stunning against a textured wall.
- Or, a fabric wall hanging can add a soft, cozy touch to a room.
Plan Your Layout
Once you’ve chosen your pieces, it’s time to plan your layout. I always recommend creating a mock-up first to ensure you’re happy with the arrangement before making any holes in your walls.
Step 1: Arrange Your Pieces on the Floor
Lay your pieces out on the floor in the general arrangement you’re considering. This will give you a sense of the layout’s scale and balance.
- Step back and look at your arrangement from different angles. Does it feel balanced? Does it draw your eye in? If not, don’t be afraid to move things around.
- Remember, there’s no right or wrong way to arrange your pieces. The goal is to create a layout that you love.
Step 2: Use Painter’s Tape to Create a Mock-Up
Once you’re happy with your floor arrangement, use painter’s tape to create a mock-up on your wall. This will help you visualize how the pieces will look on the wall and ensure you’re happy with the layout before making any holes.
- Cut out pieces of painter’s tape in the shape and size of your wall decorations.
- Arrange the tape on your wall in the same layout as your floor arrangement.
- Step back and look at your mock-up from different angles. If you’re happy with the layout, you can start hanging your pieces.
Step 3: Hang Your Pieces
Now comes the fun part – hanging your pieces! I always recommend starting with the largest or most prominent piece and working your way out.
- Use a level to ensure your pieces are straight. There’s nothing worse than a crooked picture!
- Consider using picture hanging hooks or strips for a secure hold. The last thing you want is your beautiful wall decorations falling off the wall.
Don’t Forget the Finishing Touches
Once your main pieces are up, it’s time to add the finishing touches. These small details can make a big impact and pull your whole look together.
Step 1: Add Lighting
I’ve found that lighting can dramatically change the mood of a room. Consider adding wall sconces, string lights, or even a statement floor lamp to highlight your wall decorations.
- For example, a string of fairy lights draped over a mirror can add a magical touch to a bedroom.
- Or, a statement floor lamp in the corner of a living room can highlight a gallery wall.
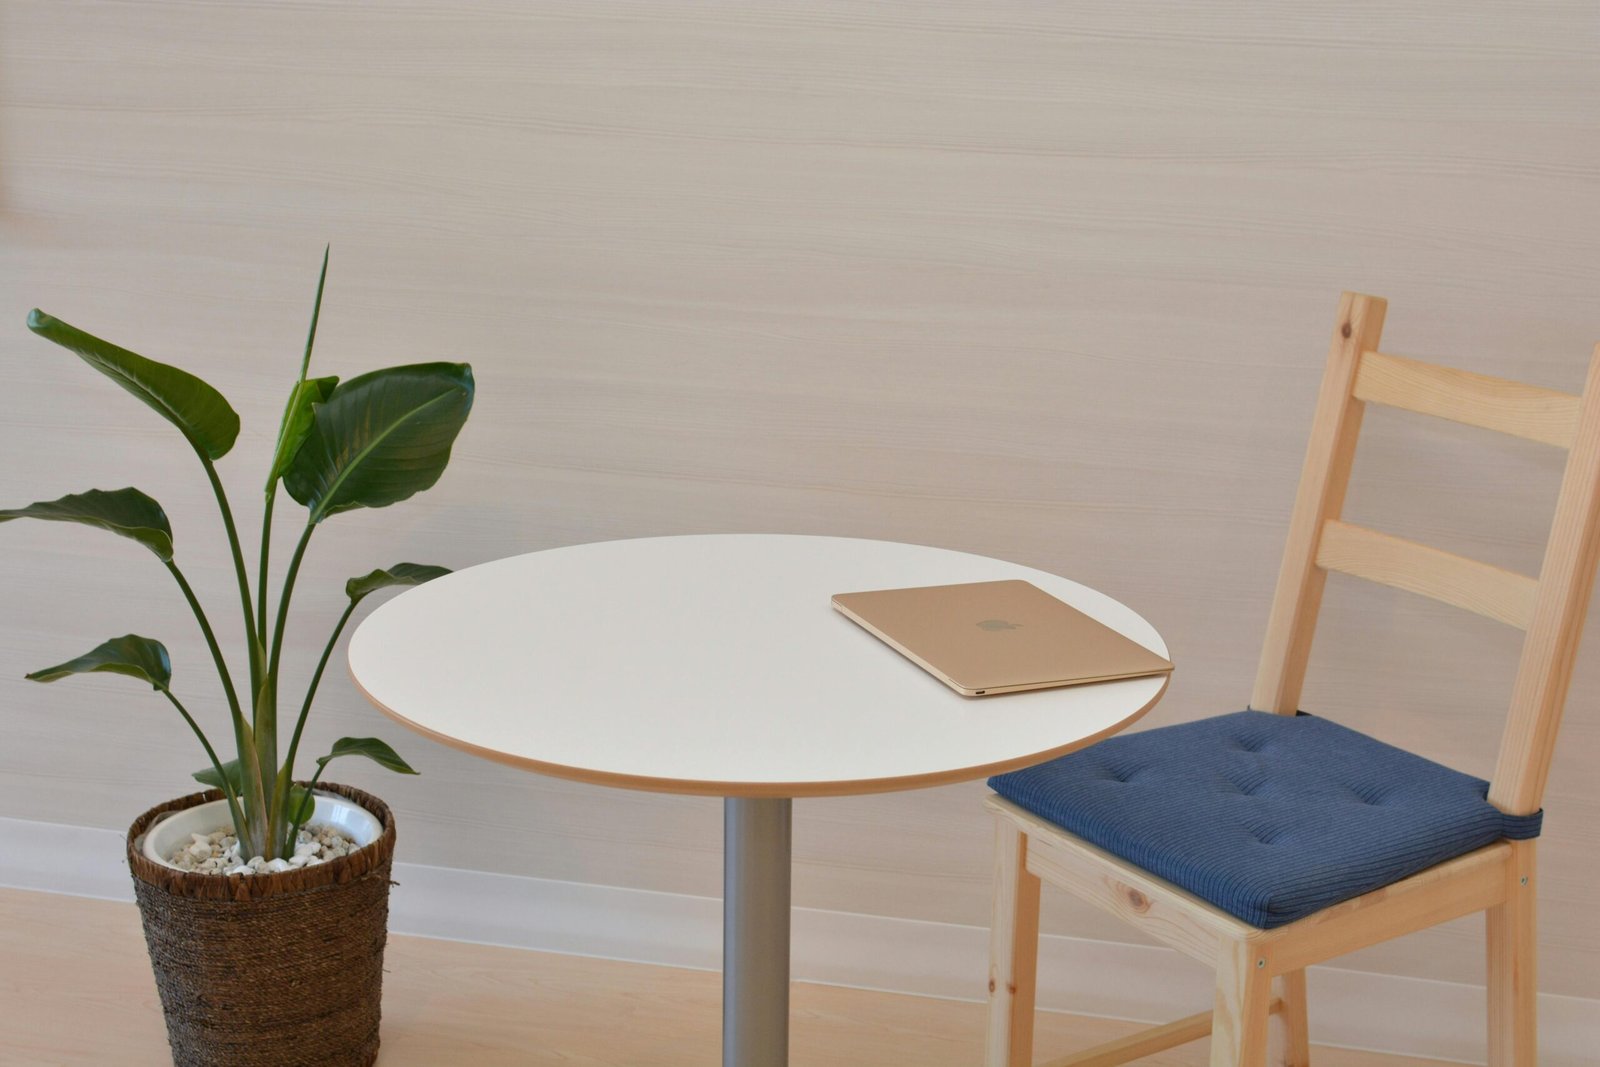
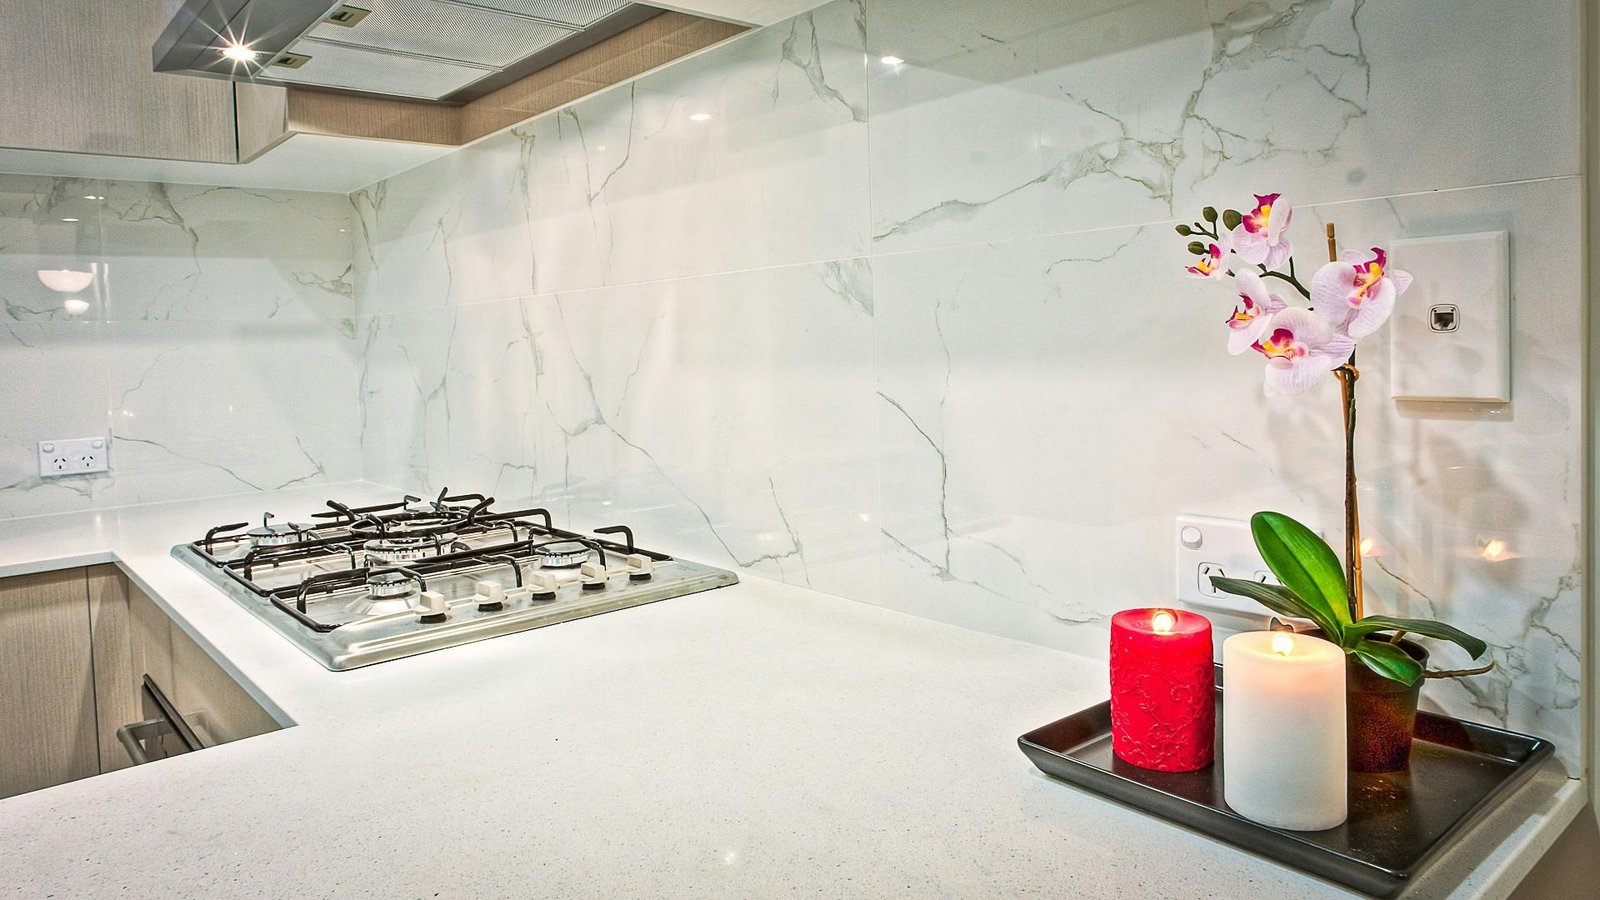
Step 2: Incorporate Plants
Plants can add a fresh, natural touch to any room. Consider hanging plants from the ceiling or placing them on shelves to add a pop of green to your walls.
- For example, a hanging plant in the corner of a room can add height and interest.
- Or, a few small plants on a shelf can add a touch of nature to a gallery wall.
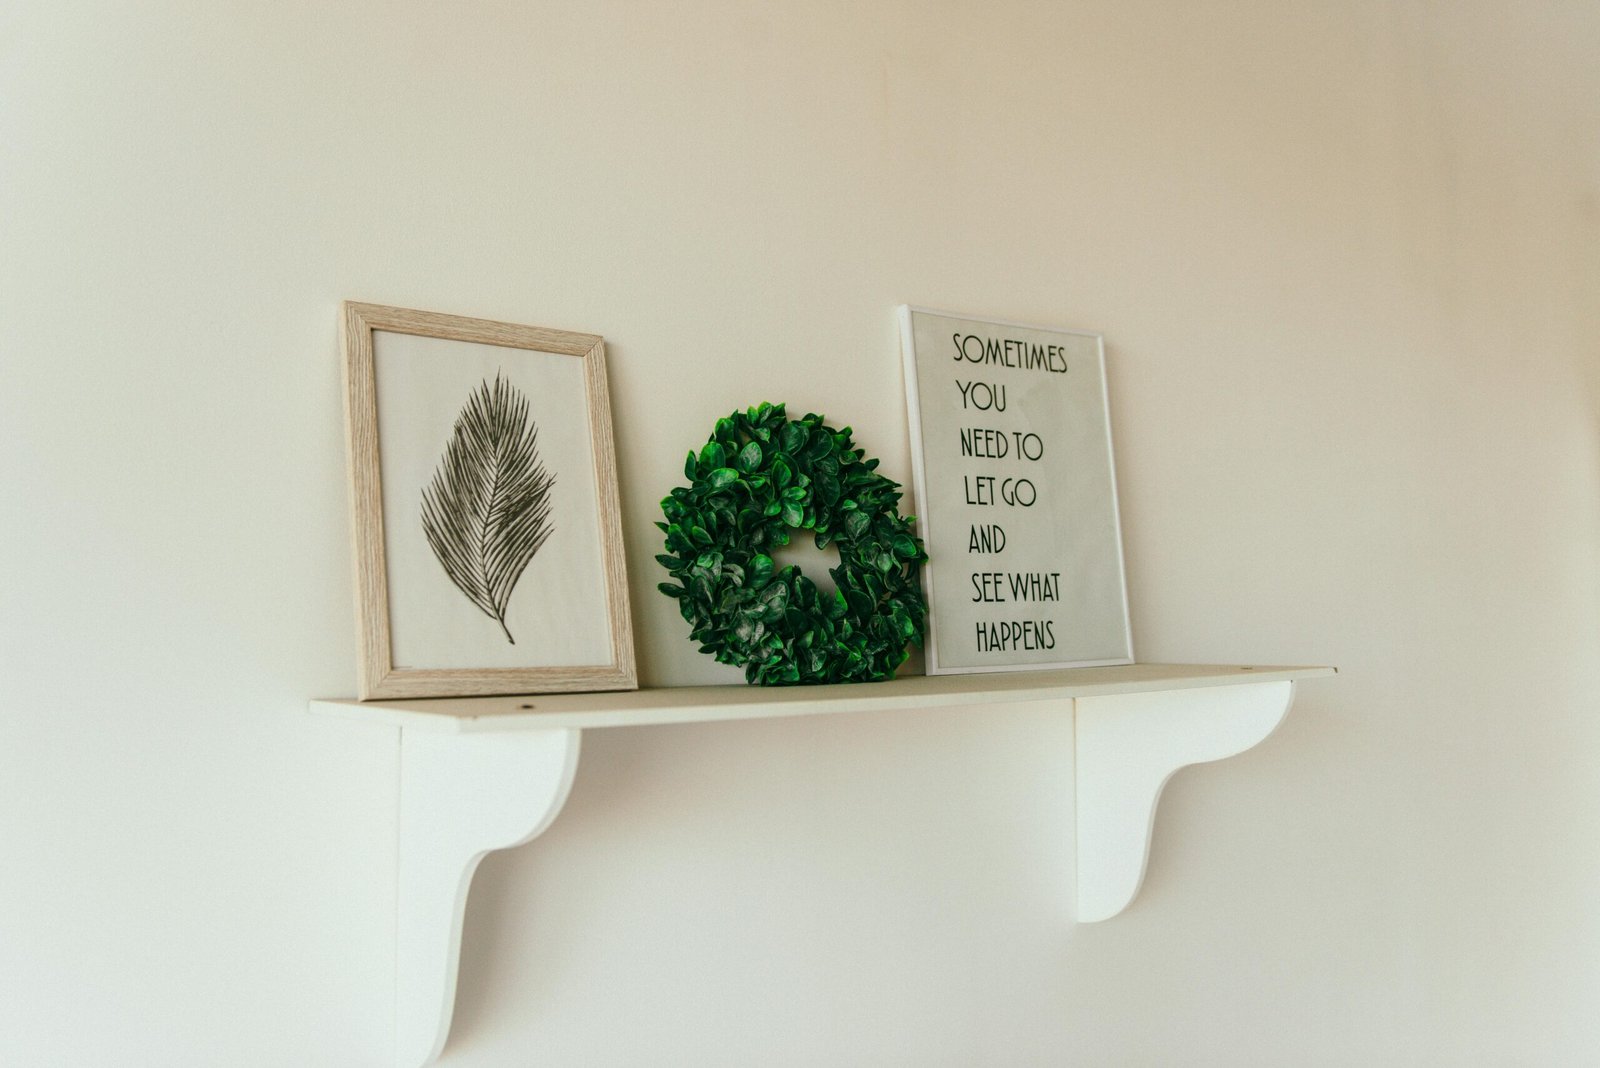
Step 3: Personalize Your Space
Finally, don’t forget to personalize your space. Wall decorations are a great way to showcase your personality and interests. Consider adding photos, artwork, or even a DIY project to make your space truly your own.
- For example, a gallery wall of family photos can add a personal touch to a living room.
- Or, a DIY macrame wall hanging can add a unique, handmade touch to a bedroom.
Remember, wall decoration is all about expressing yourself and creating a space that you love. Don’t be afraid to take risks, mix and match styles, and have fun with it. After all, it’s your space, and it should reflect you.

Leave a Reply